Synchronize Contact data to e-mail marketing tools
You probably know the struggle of having a good but long list of contacts collected on your cloud in Google, other one is lying in Pipedrive, and a couple more of them in Mailchimp, Salesforce or maybe HubSpot?
Maybe you have wild dreams at night about how great would it be if you had all these contacts unified in a shared database and could use them for different purposes. Target them with advertising, send them personalized emails, and overall develop your product or service based on relevant data. Today is your lucky day – in Boost.space, we make dreams like this come true.
With Boost.space, you can connect all your contact lists to a common database and set them up to be automatically shared across all your separate tool clouds. You can keep your data consistent, up-to-date, avoid duplication, and also prioritize the recording factor using the API Token Prioritization feature.
Ready to give a try?
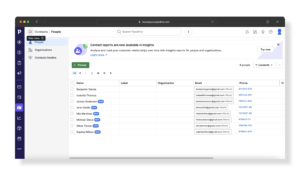
In your Boost.space platform, open the space you created (in this example we use “Active Customers”) in order to synchronize the selected Google contact list.
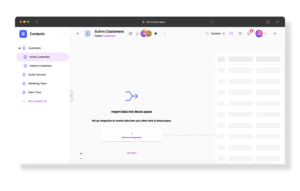
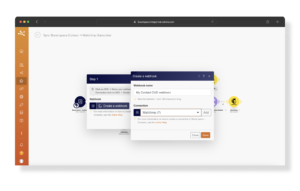
Choose the option “Connect” in the upper right corner and then “Add new integration”, select the Google Contacts app and follow the instructions of pre-made template. Create API token, open the Integrator, and start the guided setup.
In both modules, create or select your connections. In the Google Contacts module, choose to synchronize “All” contacts. In the Boost.space part, choose the created space, and voila, you have created a scenario. But don’t run it just yet!

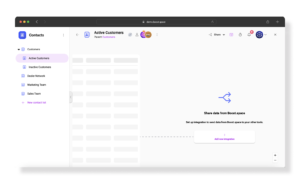
Before starting the scenario, create the connection between Boost.space and the app you wish to synchronize the contact list to. In order to do that, go back to the Contact module in your platform, and in the upper right corner, choose the “Share” option, and “Add a new integration”. Then again select the app (we went for Mailchimp), and follow the instructions of the chosen template. And once again, switch to the integrator and start the guided setup.
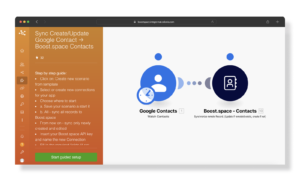
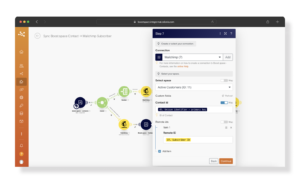
Step 1: Create a webhook with the offered connection (name of the integration you just created API token to). Step 2: Create or select the offered connection in the connected tool (here Mailchimp), and the List ID. Same goes for the step 3-6.
In step 7 you will also need to choose to “map” a Contact ID and then select the “Unique identifier – primary key” option from the offered list. And you’re done! The scenario is ready to start.
![]()
Synchronizing contacts to Pipedrive or other CRM tools
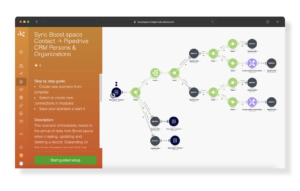
Sharing contacts into the CRM tools (e.g., Pipedrive) may look a little bit more complicated. That’s because these tools use both “Person” and “Organisation” contact options. Therefore the three Create/Update/Delete branches are duplicated.
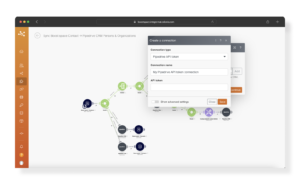
There, in the step two you will need to fill in your API token, that you can find in the settings of your tool application.
Continue your way through the guided steps – but remember to select the right space in the Boost.space module.
Now all is set up and ready to go
And now you’re set to run this scenario, as well as the very first one in which you can change the limit of data synchronized at once.
Given the fact that you’ve already activated the “Shared” scenarios, once you set off the initial “Connect” one, the contacts will be synchronized to Boost.space and then automatically to the connected tools – Mailchimp and Pipedrive.
![]()